home > Manuals > Fisher Sub Sieve Sizer Manual > 7.5 Test procedures
7.5 Test procedures
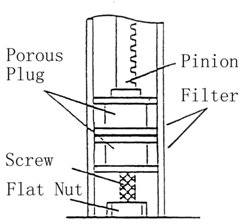
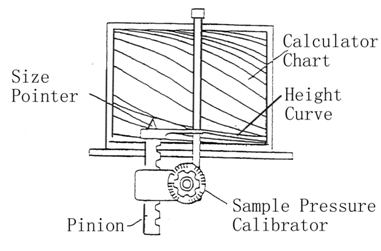
Put the loaded sample tube on the base block assembly, move the calculator chart and make the designated value coincides the powder porosity (percentage of void) pointer, anticlockwise turn the rack and pinion control to make the pinion down and press the up porous plug inside the sample tube. Continue pressing until the size pointer pointing the height curve on the calculator chart, then turn clockwise the rack and pinion control to lift up the pinion, put the sample tube on the test base, clockwise turn the clamp assembly control to press tight the sample tube.
Above is the powder compacting procedures using rack and pinion control. In order to make the compacting force constant and results more accurate, user can choose optional sample pressure calibrator. According to the specific instructions, dismantle the rack and pinion control knob, install the sample pressure calibrator then put the loaded sample tube on the base block assembly, anticlockwise turn the calibrator to make the pinion down and press on the top porous plug, continue pressing until the calibrator reaches the designated torsional force, it is as per user’s requirement and no fixed number, for example some make the calibrator show 14 lb/in, and then the calibrator tube is accurately 50 lb/in, then move calculation chart to make certain point on the sample height curve coincides the size pointer.
Now the powder porosity (percentage of void) pointer shows the porosity (percentage of void) under above test conditions, then keep the calculation chart still and clockwise turn the sample pressure calibrator to lift the pinion, then put the sample tube on the test base and clockwise turn the clamp block assembly to press tight the sample tube.
Leave a Reply
- Links:

